
What I Faced
I use an ASUS ROG G513QR for personal gaming, basic video editing (for my guitar covers) and learning. It’s a pretty potent Gaming Laptop – loaded with an AMD 5900HX, 32GB of RAM and an NVIDIA 3070. At time of purchase (November 2021), this configuration outperforms a Macbook Pro with an M1 Pro chip, for a much more attractive price. No mean feat. And its been a really stable and fast laptop.

Until recently. After installing the latest Windows 11 22H2 Update, my laptop began to intermittently lose its Wi-Fi connection. And it wasn’t a simple “loss” of connection! Whenever this issue happened, the Mediatek MT7921 Wi-Fi chip that was equipped in this laptop would FAIL to detect any WiFi networks for me to connect to. I had to fully shut down and turn the computer back on to get the Wi-Fi capability to work – only for the issue to happen again later on. I noticed that this issue was more likely to rear its ugly head when I let the computer go into standby.
Frustrated, I began to find for solutions. But first…
What you should NOT do (yet)
Your first instinct might be to roll back to the previous installation of windows. This is usually the best practice; however, I do not recommend this because I did this initially and ran into two issues.
First, and perhaps the most alarming one was that the rollback failed halfway – in such a bad way then I had to reinstall Windows. The on-board recovery and Windows 11 Installation disc could not complete the rollback! Fortunately, I did not lose any files, but I had to reinstall every single application that was on the computer. Very Inconvenient.
Second: The re-install did not help my situation. Strangely enough, even after rolling back from Windows 11 22H2 to 21H2 (the previous installation of windows), the WiFi Chip would still randomly disconnect from networks, especially when resuming from standby! Hence, a total waste of time.
Disclaimer:
As usual, the information in this guide is purely for your reference. While we hope this article helps you, Aaron Tech Tips / #TechWithAaron and any of its editors cannot be held responsible for any damages, loss of data or wasted time from following this guide.
A Temporary Workaround
An internet connection will be particularly important so you can get the latest updates to get your computer up to speed and get that wireless chip to work properly. Should your Wi-Fi chip stop connecting to the network at this time, there are two things you can do:
- Restart the computer; or
- Run the Windows Network Troubleshooter. Go to Start > Settings > System > Troubleshoot

Select ‘other troubleshooters‘, and RUN the troubleshooter for “Network adapter”. Select the MediaTek Wifi adapter and let Windows troubleshoot. During part of this process, Windows will hopefully reset the network adapter, which should give you internet access, if you don’t let the laptop idle to sleep! If this doesn’t work, stick to a restart (covered in step 1).

Now that you can access the internet…
Here’s what you should do
1. Install all essential Windows Updates
As Windows 11 22H2 has already been out in the market for a few months, you can be sure that it is quite stable now. Simply hit the start button, type “Check for updates” and install every update that is available.
If you see any updates, just install them. You should anyway – these are essential updates that improve the stability and at times, add nice features to windows.

We’ll skip optional updates for now – and come back to it later. ”
2. Install the latest drivers and firmware from your laptop manufacturer
There are a few things you’ll want to check for updates for:
- WiFi Adapter
- Bluetooth Adapter (typically the WiFi chip handles Bluetooth too, hence it’s best practice to update both, if available)
- System BIOS firmware – This is the “nerve center” of the computer. For such issues, you’ll definitely want to keep this one updated.
The best way to do this is to go to your device manufacturer’s product support page (or application) and install all the latest drivers. Since my laptop is from Asus, all I had to do was to go to the MyASUS app, look under Customer Support > LiveUpdate and install everything.

Restart the computer and observe. If this helps, great! But if it doesn’t, go to step 3.
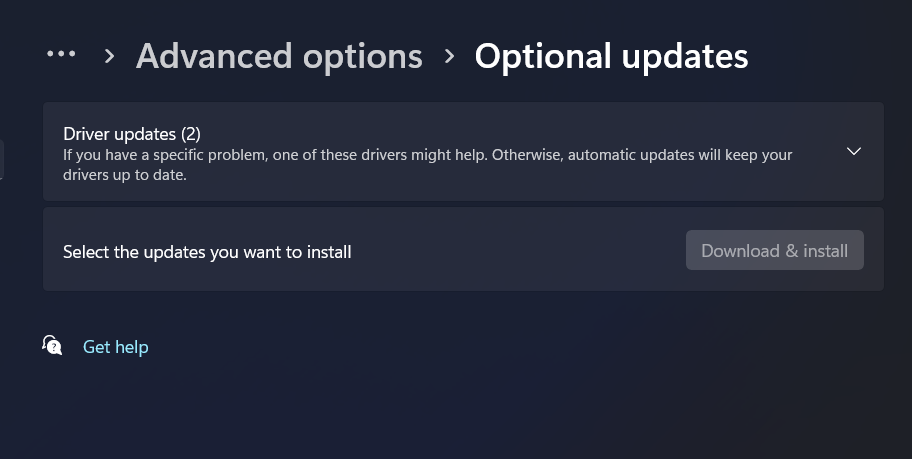
3. Install optional Updates from Microsoft
1. Hit the start button, type “Check for updates”.
2. This time, select Advanced Options > Optional Updates. Install all Driver Updates related to WiFi, Bluetooth or Firmware. In fact, if you want, you can just install all of them. I usually do that anyway.
Tip: The reason I didn’t ask you to do this step earlier, was to ensure we install and try the updates your manufacturer personally recommends, before trying Microsoft’s!
After applying all updates, restart the computer and observe. Hopefully, this works…otherwise, try the below:
4. A “Hard Reset”
This is not to be confused with “Resetting your PC”! A Hard Reset simply means a “power pull” – Fully shutting down the computer and draining all residual power from the WiFi Chip and every other part of the motherboard temporarily. This will give the laptop and WiFi chip a clean slate to work with. With all the latest driver and windows updates already installed from the earlier steps, you’re in the best shape for this to work.
The steps will vary from laptop brand to brand. For ASUS laptops, What ASUS support page list as steps are:
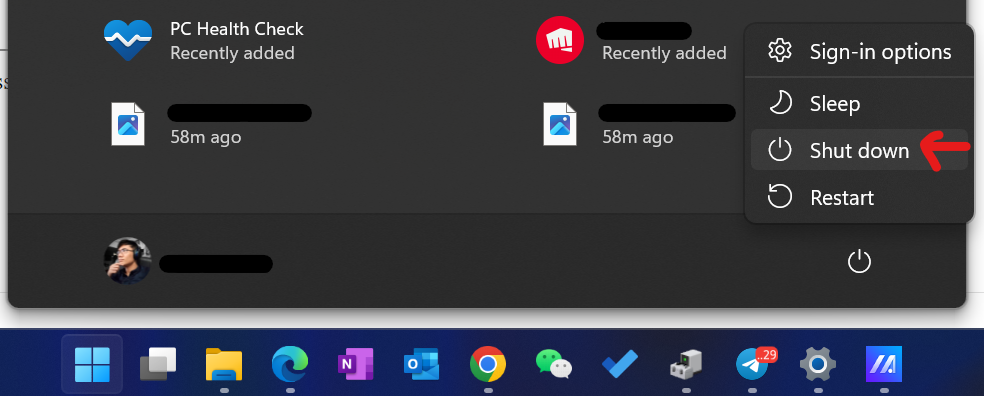
1. Fully Shutdown the laptop. Press the Start button, HOLD DOWN THE SHIFT KEY, press the power button, and select shut down. Holding down the shift key is important – this forces Windows to fully turn off the computer.
2. Disconnect the power cable from your laptop. If your laptop comes with user-accessible/removable batteries, remove those too. If yours doesn’t (like mine), just disconnect the laptop from the DC wall plug
3. Press and hold your laptop’s power button for 40 seconds. In the case of my Asus Laptop, the screen and keyboard light turned on. IGNORE IT – just continue to hold down that button. The laptop will eventually get the idea and turn itself off. Continue to hold the power button down until 40 seconds is up.
4. Once that is done, reconnect the batteries (if you disconnected them previously), and reconnect the laptop to your wall plug. Ensure the laptop is receiving power from the wall/mains. Then press the power button to turn the laptop on. The laptop will take some additional time to turn on (in my case, 20 – 30 seconds more) – don’t disturb it. Let it do its thing and boot into windows. When that’s done, observe and see if it helps!
Note: If those steps don’t help, and you have a different laptop, you’ll need to do your own research to find out how to “hard reset” or simulate a battery pull on your laptop.
Alternative solutions
In my case, thats all I had to do to make the WiFi Chip work. Hopefully, that’s the same for you too. However, if this doesn’t work, I have a few other ideas you can try:
- A rollback to the previous installation of Windows. Look under “Go back to your previous version of Windows”. HOWEVER – make sure you do a backup of all files, and de-activate any paid licenses before doing this! Just as a safety measure in case the rollback fails. When the rollback fails, you will probably have to reinstall windows, and lose all applications you had installed. You might even lose some personal files!
- Factory Reset and Clean install: Very tedious process – but usually required before you can send the laptop in for servicing
- Get help from your laptop/device manufacturer. They may need to replace the WiFi chip or work on a new firmware/driver to get your MediaTek Chip to work right.
I hope this article resolves the issue you are having with the MediaTek wireless chip. If this helped you, be sure to follow my Facebook and Instagram page!

Too many laptop makers use these crappy cheap combo cards WIFI/Bluetooth. Had a Realtek dual band come in my Lenovo IdeaPad 5 and two months later was dropping WIFI frequently. Sent it in for repair they installed a Mediatek 7921 which obviously is just the optional card for laptop model which is just as cheap and unreliable. I never used to have so many WIFI issues until these combo wireless cards came into existence. Intel is the only wireless cards that actually seem reliable. It is really bad when all you have on a laptop is wireless. Manufactures at least need to install a reliable WIFI card.
LikeLike
Asus TUF 2021 and Asus TUF 2023 – Has the same mediatek shit. On 2021v I changed to intel ax200, then now I`m having the same issues with TUF 2023.
– “Solution” = Go to MyAsus and verify the wifi+adapter = it will reset wifi card and will work faster.
LikeLike