The Shure 846 is special to me…
The Shure 846 holds a special place in my heart – It has been Shure’s most prestigious IEM’s since 2013 – that’s 9 YEARS! Back in 2014, as a student in Polytechnic, I would never have been able to afford, or even dare to dream about experiencing such high end, audiophile-grade equipment.
However, thanks to one of Digital life’s newspaper contest (part of the straits times – a state owned, Singapore newspaper), I won one of these! I had the pleasure of using this set of earphones for a few years, until I foolishly destroyed it by sending it through the washing machine (a painful story for another day – long story short, the sound from this pair of earphones would never be the same, even with repairs from third party shops many years later. The bass and overall sound signature was never the same.)

Fast forward to late 2021, and of curiosity as a working adult, I went to try out the Shure 846 again. That was a bad idea – because once I did, my ears fell in love! I realized why Shure has not released a new flagship IEM – simply because they didn’t have to. Nine years might sound like a long time for anything that is technologically related, the very fact is that such audio products that rely purely on cables do not need a refresh, as long as the sound remains top notch. Today, even when compared with newer earphones, The Shure 846 definitely holds its own – powerful, deep punchy bass, full bodied vocals that sound absolutely natural, with amazing soundstage and transparent sparkly highs.
So yes, my ears got seriously poisoned, and I opened my wallet during the 11.11 sale to buy one of these. This time round, being very careful with it, so that it wouldn’t meet the same disastrous fate as its predecessor. It was an expensive lesson!
Fun fact: There is a SHURE 846 PRO is recently available on Shure’s website, but the specs, design, and build look the same as the Shure 846. I’d think it’s safe to say that they are the same earphones! (Shure, please correct me if I’m wrong)
But out of the box, my Shure’s didn’t seem to sound as good as I remembered it to be…
I remembered the Shure’s in stores creating deep, punchy bass and transparent sounding highs. However, when I got my unit, I realized mine seemed to sound drastically different.

While the bass was present, the highs were mysteriously veiled and seemed pretty lost in the mix. I thought I had a fake unit! But it can’t be – I bought mine from an authorized dealer in Singapore (AV-One Lazada), and the product box was legit.
After some experimentation, I realized there were a few factors that caused my unit to sound a little off (at least, to my ears).
Here are a few things you can do to get deep bass with nice sounding highs from your Shure 846!
Without resorting to any kind of aftermarket modifications that would risk the warranty status of your Shure’s. The earphones already can do well on their own – trust me!
1. Use the right nozzles – the blue ones!
One of the main highlights of the Shure 846 s is its unique nozzle system – you’re able to change out the filters inside the earphones to tweak the sound to your liking.
Out of the box, the Shure 846 uses the blue nozzle. The white filter is supposed to boost the mid and high frequencies (1 – 8khz) by 2.5 dB, and the black filters are supposed to tame the same frequencies by -2.5dB, to bring a warmer sound.
Early on, when I first heard my Shure’s, I felt that the highs my unit sounded a bit too veiled. Since I was craving for more highs, I quickly swapped out the blue filters for the white filters. While this helped the earphones attain a brighter sound signature, it still didn’t seem to sound as transparent as I remembered it to be.
Worse, what I didn’t realize was that these white filters tamed a bit of the sub bass as well, resulting in a very dull sound. I didn’t realize this was going on, until I swap the blue filters back on.
So, long story short, stick to the blue filters!
2. Use the rubber eartips! (wait…what?)
Most earphone manufacturers don’t really spend a lot of time explaining this part, but the material of the eartips on the earphones (be it comply foam or silicone) can affect the overall sound signature a lot!
I learnt this when I had my Audio Technica IM03’s – If you try to use comply ear tips on it, the sound is just awful, with the highs being mushed in a way that just doesn’t sound right. Using the JVC spiral dot tips widened the soundstage and liveliness of those earphones.
Out of the box, the Shure 846 uses the famous foam olive tips, that Shure is very recognized for. These tips feel great in the ears, and isolate noise very well. However, my problem is that the foam tips tame the highs ever so slightly too! With those on, there was general a lack of “airiness” to the highs.
Once I swapped out the olive foam tips for the appropriately sized grey silicone ones that come in the box, my new pair of Shure 846 sprung to life – Deep subwoofer like bass, clear sounding vocals and transparent clear highs that I remembered hearing in stores. This is what I am paying for!
3. Bonus Tips
If those steps didn’t help, I have a few bonus tips that might help your Shure 846:
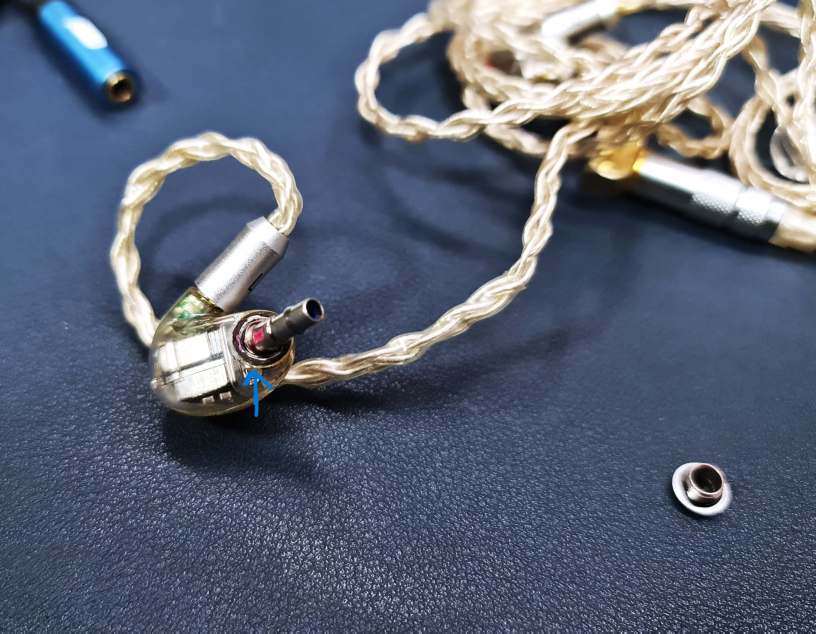
A. Check the Rubber seal between the earphones and the detachable nozzle ring screw
If you have had your Shure 846’s for quite a while (e.g. 4-5 years old), and the bass seems to have degraded in time, it is worth checking if the rubber O ring that sits between the earphone and the nozzle ring has started to wear.
Long story short, if this seal is worn out and torn, some sound could be leak from the resulting air gaps, causing the reduced bass and tone. If your warranty is finished, good luck getting a repair…. However, if you can find an appropriately sized rubber O ring to act as a seal between the earphone and the nozzle securing ring, you could potentially resolve this on your own.
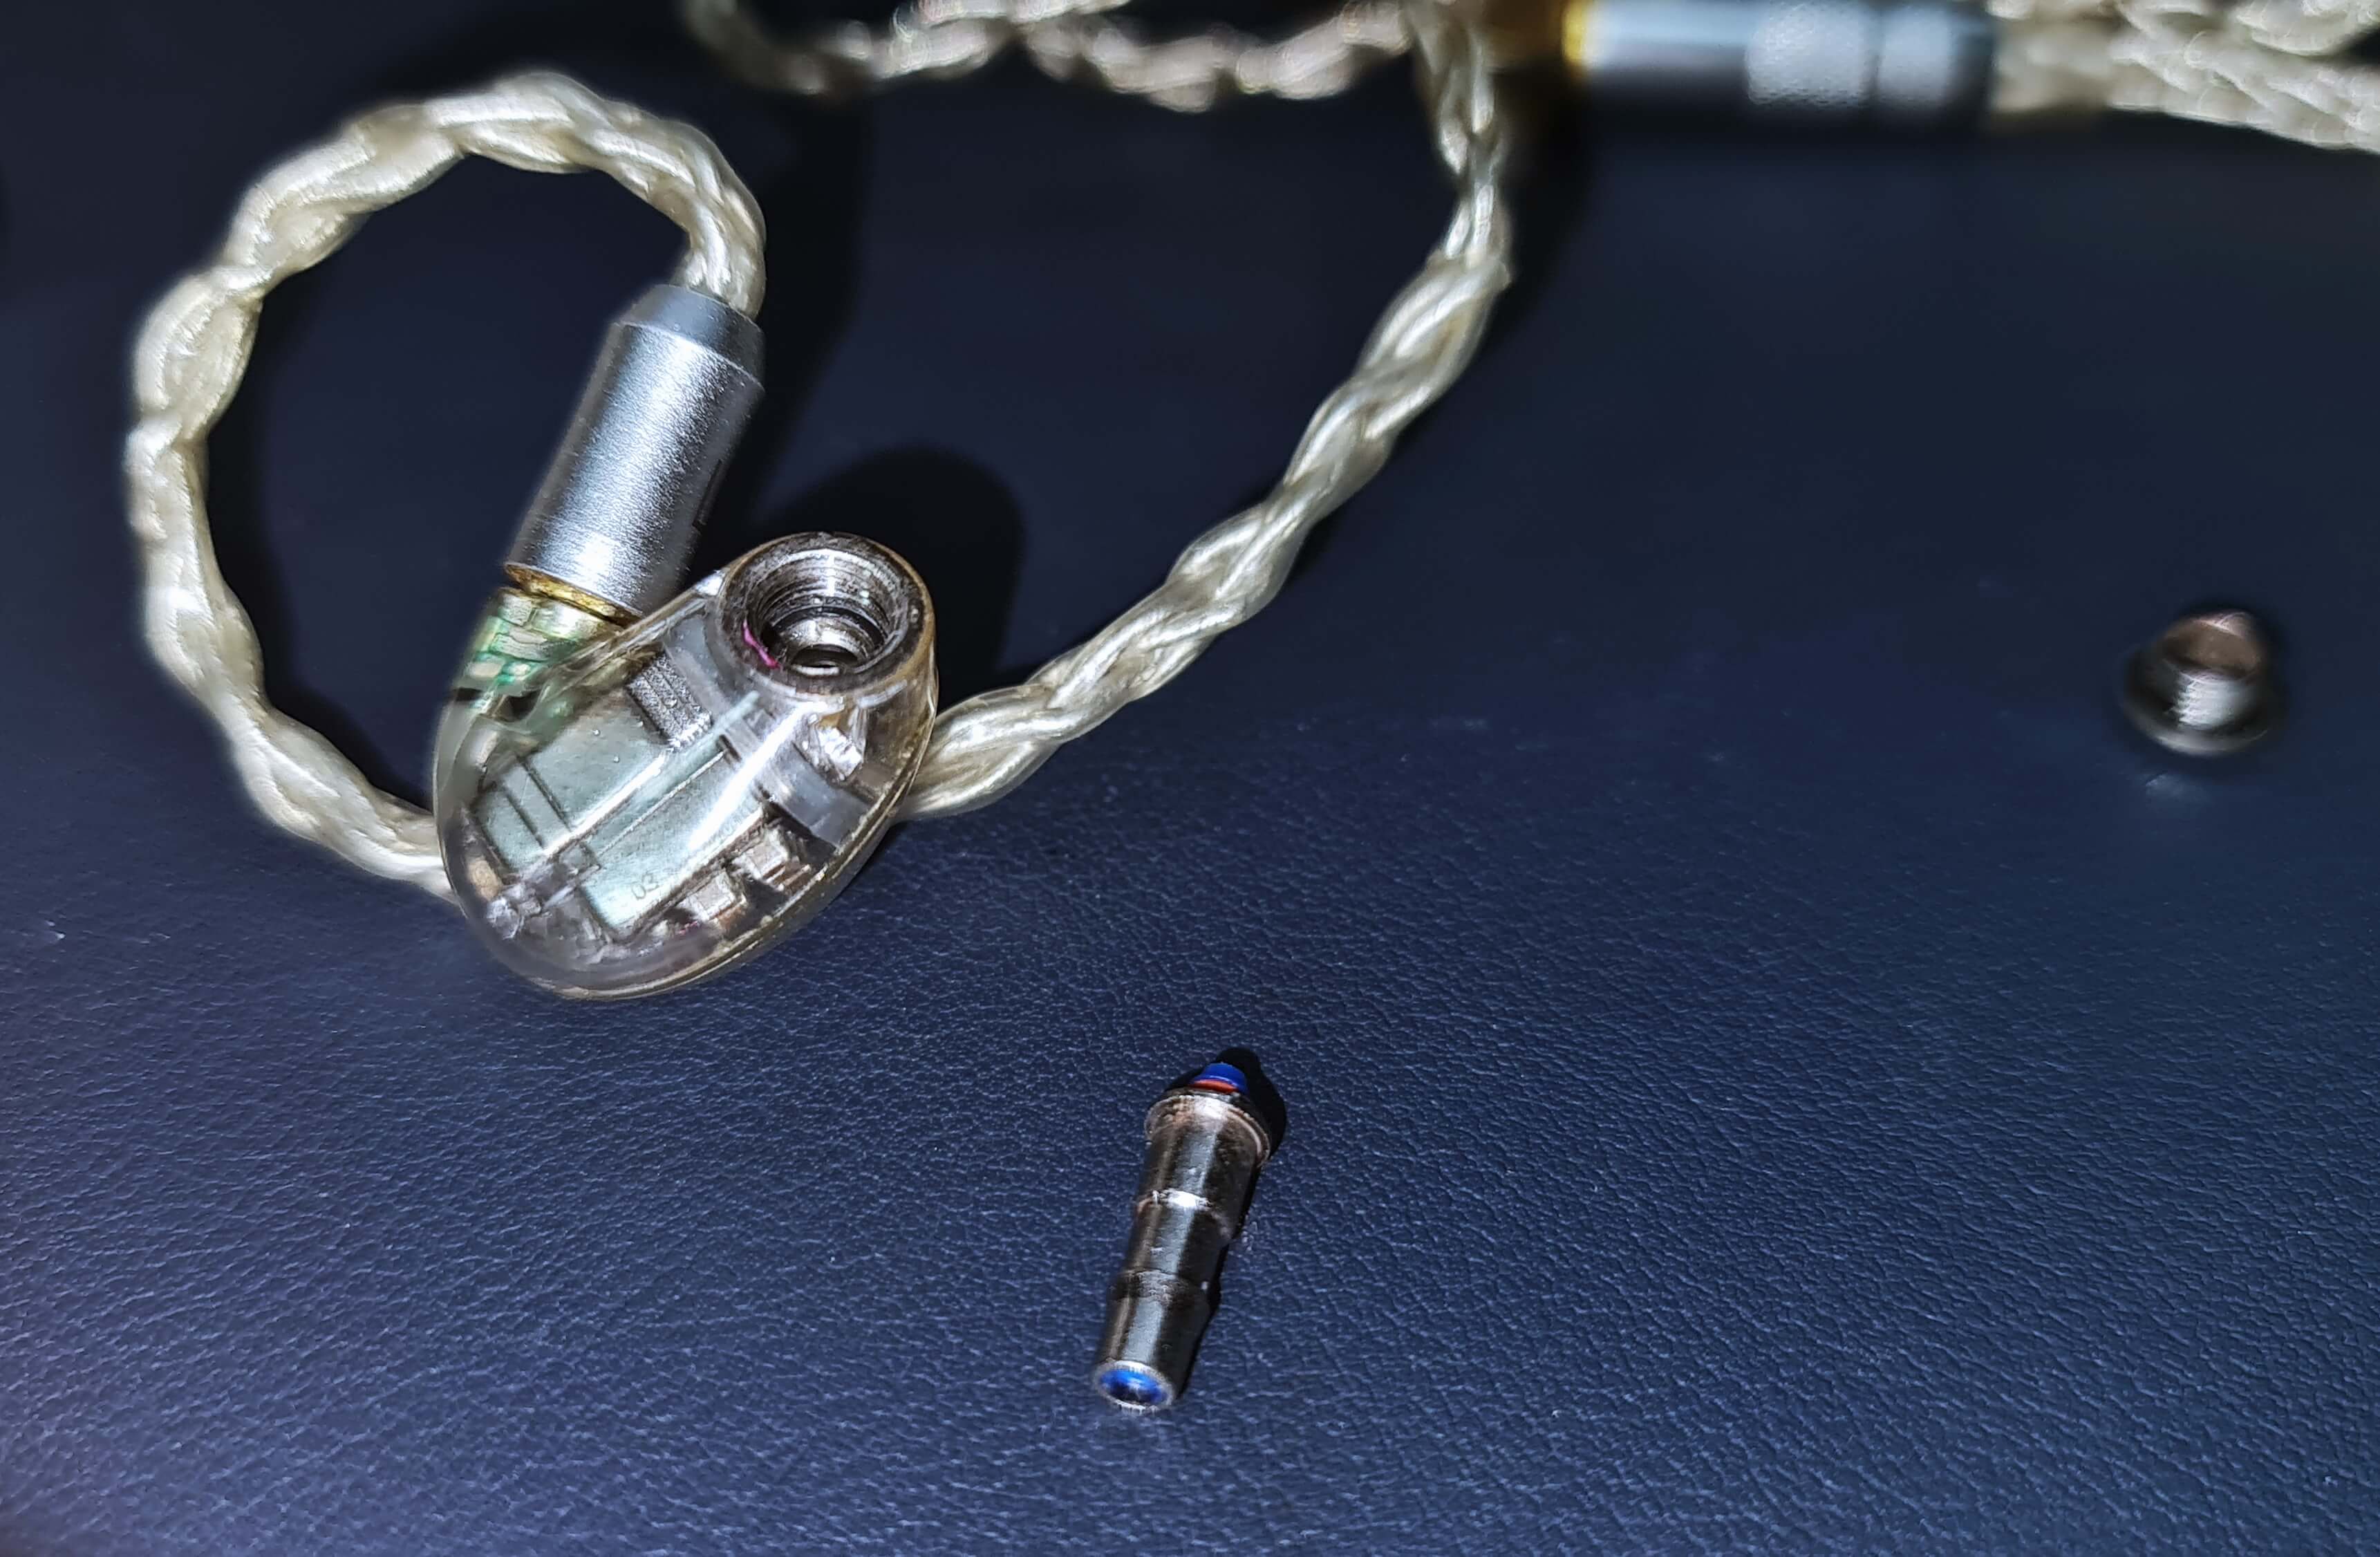
B. Make sure you are fitting the earphone nozzles the RIGHT way!
When changing the nozzle filters, you are supposed to insert the filter (e.g., the blue filter) into the nozzle tube FIRST, before fitting the whole nozzle assembly to the earphones. Here, this is the diagram that Shure shows on their manual:

Then, align and insert this tube with the pink colored indication marks on the earphones. If you don’t fit the tubes right, this will affect the sound.

The pink indicators might not be very clear, but you can see it on my 7 year old Shures (which have gone through the washing machine…and alot more!)
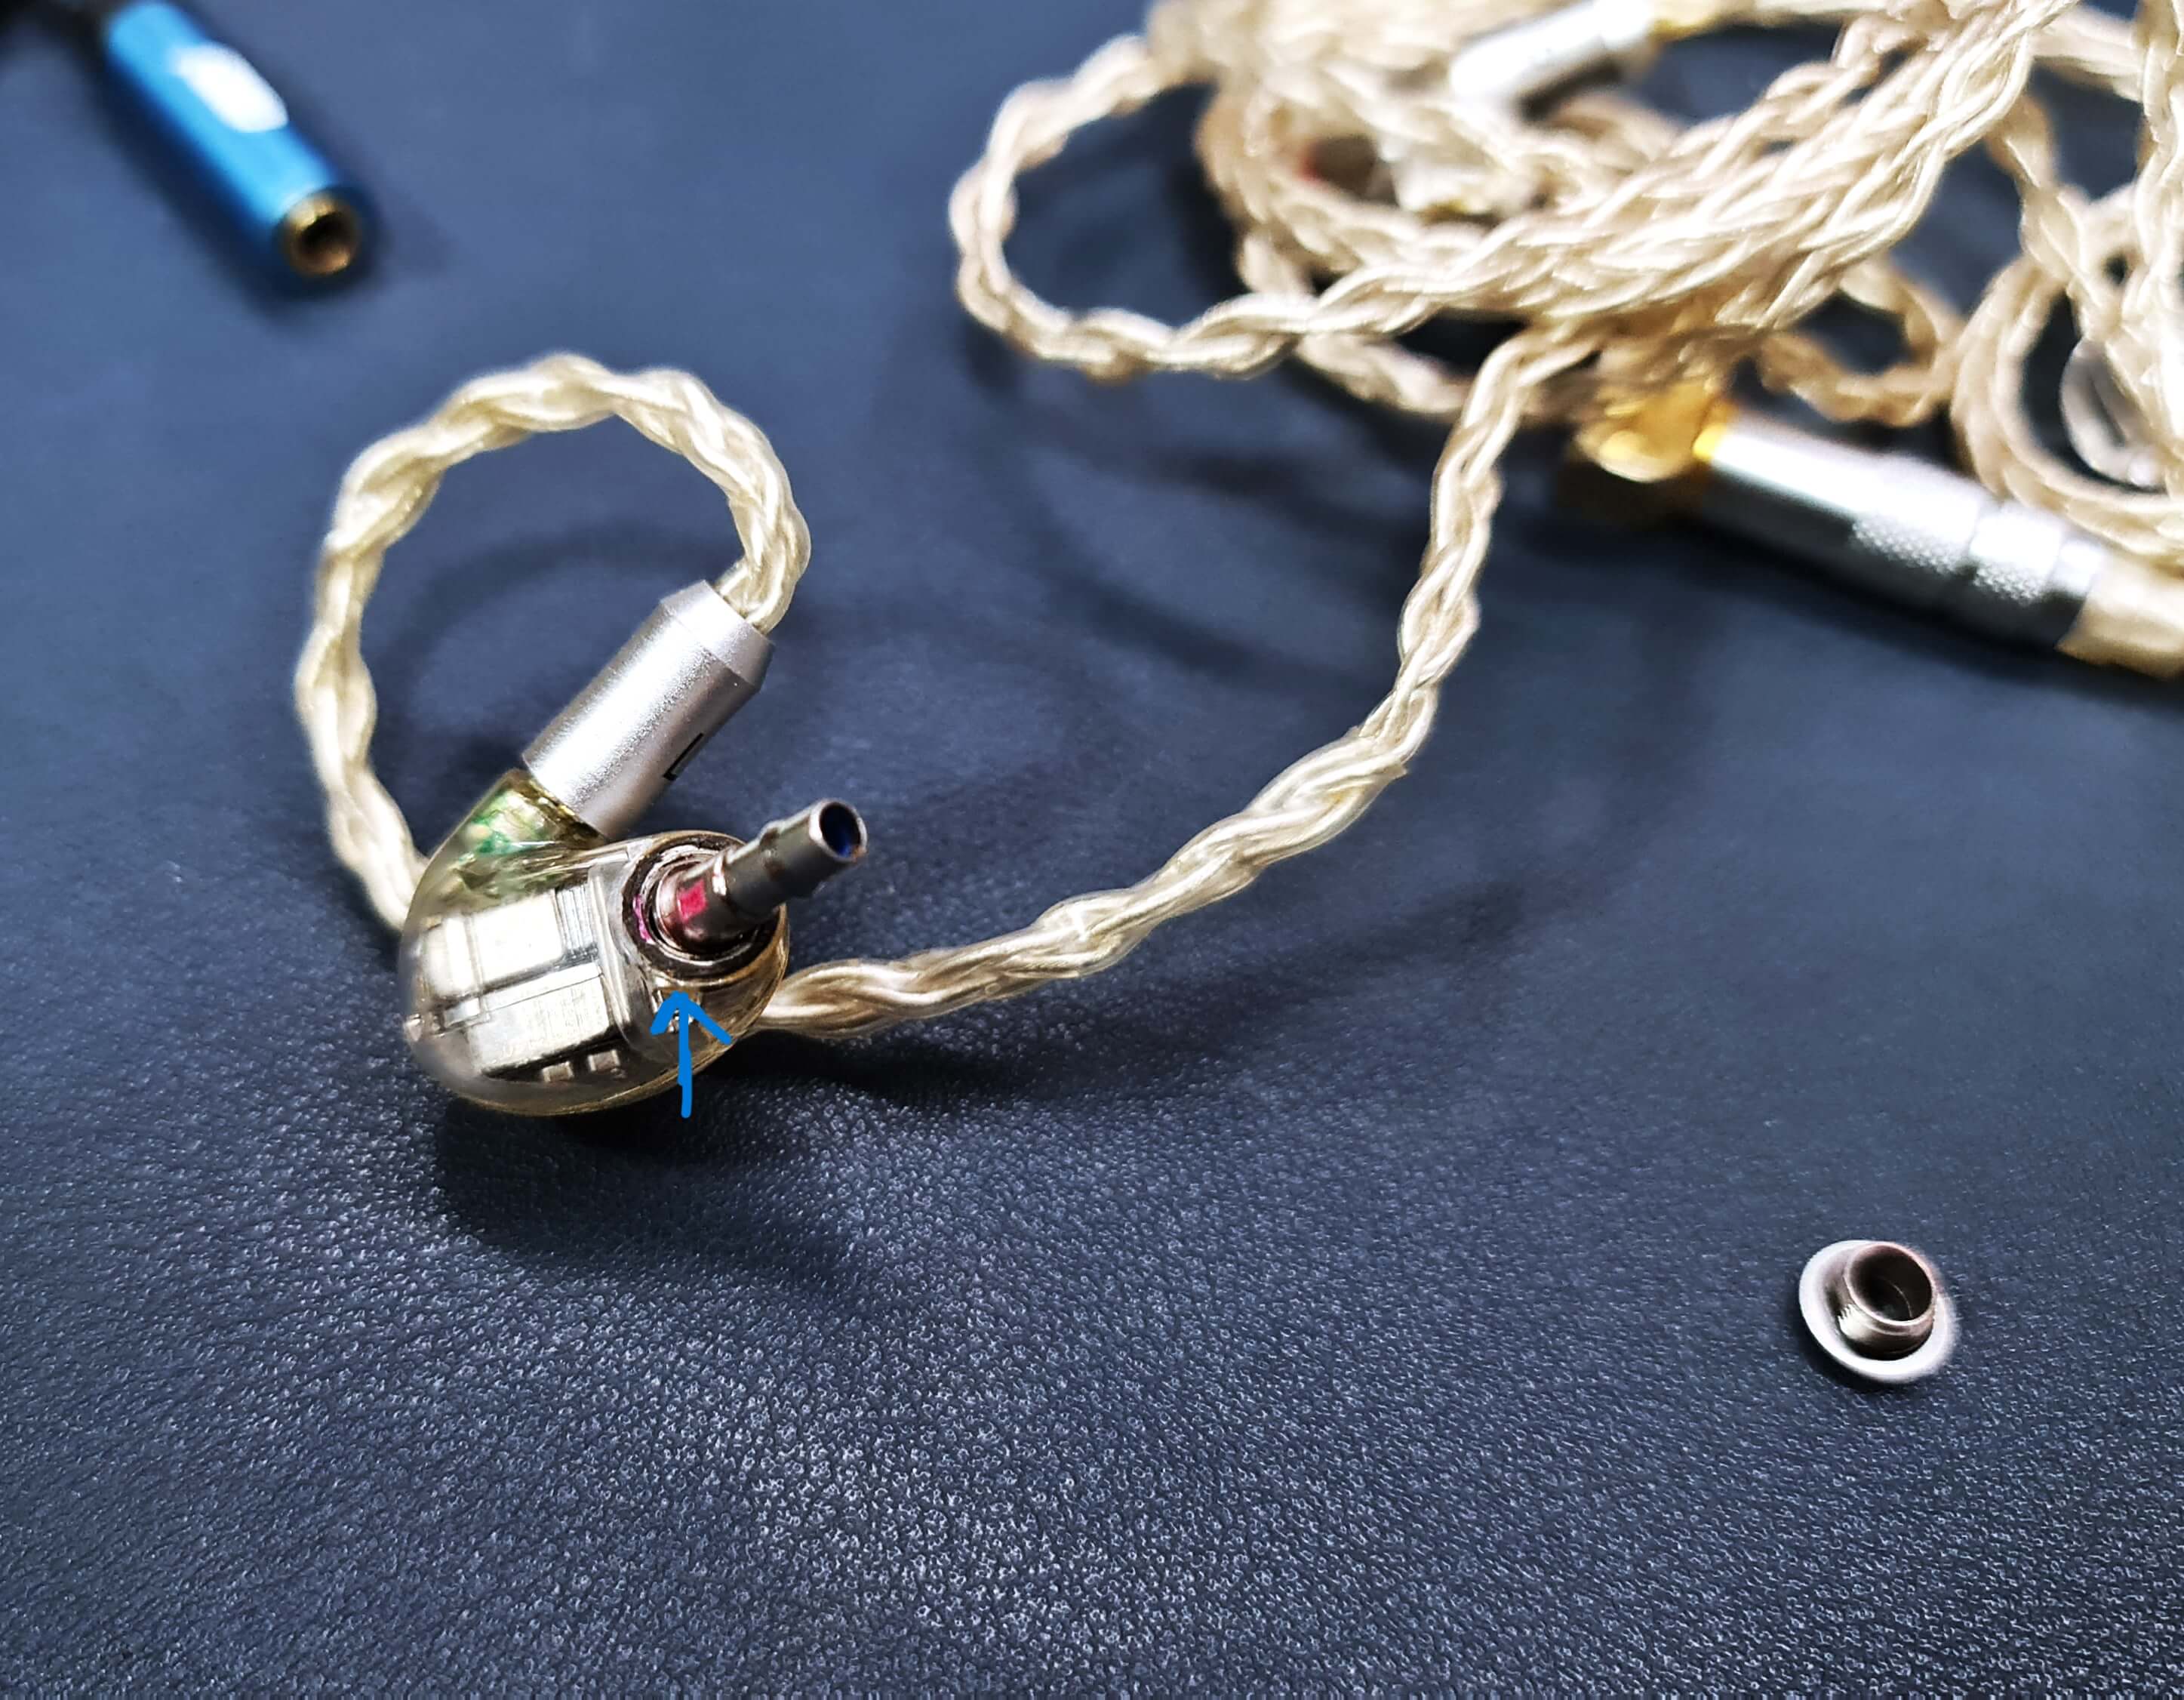
C. Be wary about Cross-threading!
Whenever you change the filters, take extra care not to CROSS THREAD the ring that secures the nozzle to the earphone!
While toying with my 7 year old Shure’s, I realized that after changing the filter nozzles, if you were to simply throw the securing ring back on and tighten it with the included tool, you might cross thread the ring just by a tiny bit – it might thread in without an issue, but it could leave a tiny gap between the earphones and the nozzle, which can cause some sound to leak out and lacking sound quality.
To secure the ring properly, when fitting the nozzle ring back on, I recommend doing the following:
- Carefully turning the securing ring counterclockwise with a light finger touch, until you can feel the threading “sit in” with the earphone’s screw threads.
- Then, turn the ring in clockwise by hand carefully, until the ring is hand tight.
- Only at this point, should you use the nozzle key to fasten the ring.
- Be careful not to over tighten the ring! As mentioned in Shure’s Manual, this ring just must only be secured tight enough so the nozzle does not come loose proper usage – not tightened to your finger’s maximum!
if you tighten the screw far too much with the built-in tool, I suspect that the rubber seal I was talking about in bonus part 1 would be squashed more than it needs to be, which will result in faster wear and tear. And in the next few years, you might find yourself facing a degraded rubber seal faster than you should. When that happens the only way to fix it is to find an appropriately sized replacement rubber ring (difficult), or sending the earphones to your Shure dealer, which might not be able to fix it.
in Singapore, the authorized distributor (at least to my knowledge) does not fix earphones and is only able to do a one-to-one replacement if there are any issues. So, if you are out of warranty, good luck trying to purchase an aftermarket replacement part. They might sell you a replacement whole earbud, and that replacement is going to be expensive.
So, there you have it: these are my tips if you are using a Shure 846 and you find that the sound seems to be lacking. If these solutions restore the life from your beloved earphones, do leave a comment so that I know about it.
By the way, if you have not read the Shure 846 Manual – Why haven’t you? Here’s a link to the manual:
https://pubs.shure.com/guide/SE846/en-US
Until next time, this is #Techwithaaron, and I’m happy to share my experiences! Like my Facebook page today to get the latest updates whenever I have something more to share 🙂
